👇Scroll Down For Your Destination Link👇
Are you someone who loves mobile photography but feels your phone camera is just not cutting it? If yes, then you’ve probably heard about the Google Camera, better known as GCam. In 2025, GCam has evolved even further with new features, better compatibility, and the latest GCam config files to enhance your camera performance dramatically. If you’re wondering how to download and use the new GCam camera config file in 2025, you’re in the right place.
This blog post will guide you step-by-step through what GCam is, why config files matter, and how to install and use them on your phone easily.
What is GCam?
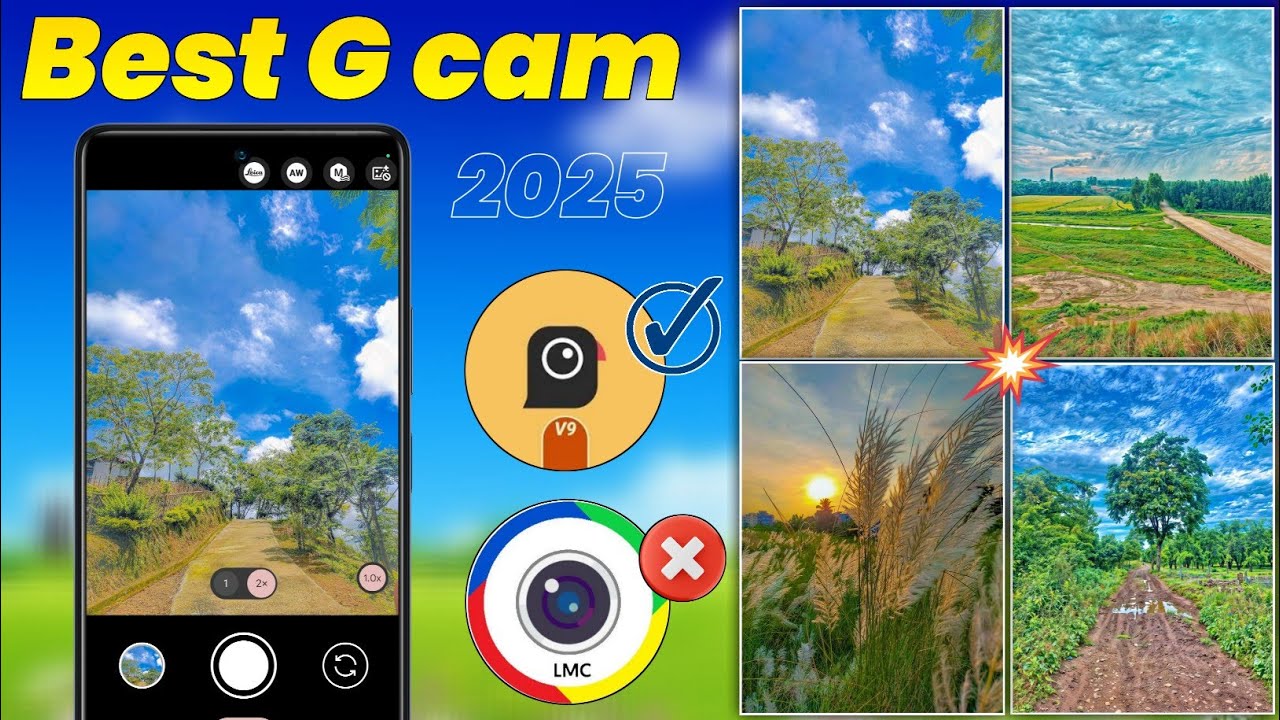
GCam, short for Google Camera, is a camera app developed by Google for its Pixel smartphones. It’s known for its incredible image processing capabilities, including advanced HDR+, Night Sight, Portrait Mode, Astrophotography, and much more.
Luckily, developers have ported GCam to work on many non-Pixel Android phones, giving regular users access to Pixel-like camera quality. However, for GCam to work perfectly on your phone, it often needs a config file—a small settings file that tells GCam how to behave on your specific device.
What is a GCam Config File?
A GCam config file (.xml) is a file that contains optimized settings for specific phone models. Every phone has different camera hardware, so one setting doesn’t work perfectly for all. That’s where config files come in. These files adjust settings like noise reduction, HDR levels, exposure, saturation, and focus to bring out the best in your phone’s camera.
In short, using a proper GCam config file ensures the camera app runs smoother, faster, and produces stunning images without any technical issues.
What’s New in GCam Config Files in 2025?
As of 2025, GCam ports and config files have seen massive updates. Some highlights include:
- Improved Night Sight settings for better low-light photography.
- Updated HDR+ controls for sharper, well-balanced images.
- Astrophotography tweaks for clearer star and night sky shots.
- Video stabilization improvements using new XML settings.
- Better support for Snapdragon and MediaTek processors.
- More accurate color tuning specific to different smartphone brands like Xiaomi, Realme, OnePlus, and Samsung.
These new config files make GCam more stable, crash-free, and even better optimized for newer Android 14 and Android 15 devices.
Why Should You Use a GCam Config File?
Here are a few solid reasons why downloading and applying a GCam config file can improve your photo-taking experience:
- Optimized Settings: No need to tweak manually; everything is fine-tuned for your phone model.
- Better Image Quality: Sharper, clearer, and more natural-looking photos.
- Improved Compatibility: Fixes bugs like viewfinder lag, focus problems, or force close errors.
- Unlock Full GCam Features: Some features like Astrophotography or Slow Motion work only with proper settings.
- Saves Time: Just load the config and shoot, no trial-and-error needed.
How to Download and Use GCam Config Files (2025 Guide)
Let’s walk through the entire process from downloading to applying the config file.
Step 1: Download a Compatible GCam APK
First, you need to download the GCam APK that works best with your phone model. Websites like:
- Celso Azevedo’s GCam Hub
- XDA Developers Forum
- Telegram GCam communities
…are the best sources for trusted GCam APKs and their config files.
Make sure the APK version is compatible with your Android version and phone processor.
Step 2: Download the Config File (XML)
Once you have the right GCam APK, look for the config file made specifically for your device. Usually, the config file name includes your phone model, GCam version, and the developer’s name. For example:
gcam_config_pixel6realme8pro_bsg_2025.xml
Always choose the latest version to enjoy updated features.
Step 3: Create the Folder Structure
Before loading the config file, you need to create a folder in your internal storage.
- Go to Internal Storage.
- Create a folder named
GCam. - Inside it, create another folder called
Configs8orConfigs7, depending on your GCam version. - Place the downloaded
.xmlconfig file inside this folder.
Example path:Internal Storage > GCam > Configs8 > your_config_file.xml
Step 4: Load the Config File in GCam
Once the file is in place:
- Open the GCam app.
- Double tap near the black area around the shutter button.
- A dialog box will pop up showing available config files.
- Select the one you downloaded and hit Restore.
Your GCam will restart and load with the new settings instantly.
Tips to Get the Best Results
- Always match the config file with the exact GCam version.
- Try a few different configs if you’re not satisfied with the image quality.
- Use GCam’s Pro Mode features (if available) for more control.
- Clear cache if you face glitches after applying the config.
- Join online forums or Telegram groups for your phone model to get the latest tested config files.
Common Issues and Fixes
1. Config File Not Showing Up?
Make sure you named the folder correctly and placed the file in the right path.
2. GCam Crashing?
Try a different GCam version or a different config file optimized for your phone.
3. Missing Features?
Not all features work on all phones. Check compatibility notes on the download page.
Final Words
In 2025, mobile photography is more advanced than ever, and with the help of the right GCam config file, your smartphone camera can rival even some DSLRs in the right conditions. Whether you’re taking stunning portraits, breathtaking night shots, or crisp daylight scenes, GCam is a game changer.
Just make sure to download the correct config for your device and GCam version, follow the setup process properly, and experiment with different options until you find the best one.
Photography is no longer about just owning a high-end phone. With GCam and a good config file, even a mid-range phone can take professional-quality photos. Try it out and take your mobile photography to the next level.