👇Scroll Down For Your Destination Link👇
Scrolling through social media these days, you’ll notice something: the most memorable travel videos almost always open with an animated map. A moving line zips across continents, icons pop up at each stop, and suddenly the viewer understands the whole adventure in five seconds. A travel-route animation turns a jumble of clips into a coherent story, whether you’re recapping a gap-year backpack, a corporate roadshow, or last weekend’s bikepacking loop. The good news? You no longer need a Hollywood budget—or even desktop software—to make one. Below is a beginner-friendly, step-by-step guide that takes you from rough itinerary to exported footage in about the time it takes to brew a coffee.
1. Why bother animating your route?
- Instant context: A single animated line shows scale, direction, and sequence faster than any caption ever could.
- Higher watch time: Viewers decide within three seconds whether they’ll stay. A motion map teases the journey and hooks them immediately.
- Algorithm love: Platforms like YouTube and Instagram prioritize videos that retain viewers. More watch time means better reach.
- Sharable highlight reel: A snappy route clip doubles as a thumbnail or teaser for your full vlog.
2. Pick your weapon: finding the right tool
A. One-click web apps (no downloads required)
- PictraMap – Drop pins, choose a style, and let the service animate the path automatically. A solid choice when you’re short on time or editing experience.
- AnimateMyTravel – Designed for social-media exports; drag-and-drop interface, preset soundtrack, and vertical-video templates.
- Tripline – Great for collaborative trips. Friends can add or approve stops, and the platform animates the results.
B. Mobile & browser video editors with map presets
- Wondershare Filmora (Location Video Maker) – Recent updates added an AI-assisted map generator that builds route paths right inside the timeline.
- FlexClip – Offers ready-made travel animation templates you can tweak in a few taps—helpful if you’re working entirely on a phone.
C. Power-user and pro options
- Google Earth Studio – Free for non-commercial use and unbeatable for cinematic zoom-outs, globe spins, and 3D terrain passes.
- After Effects + GEOlayers – Industry standard for broadcast-quality graphics; lets you style every element, from road thickness to city labels.
- anim8map – A newer browser tool that renders glossy 3D flights in minutes. Ideal when you need that Pixar-style polish without the render farm.
Budget check: Web apps often start free, then gate HD exports behind a paywall. Desktop plug-ins charge upfront but offer unlimited renders. Decide what makes sense before you sink hours into editing.
3. Pre-production: plan before you click
- List your waypoints. Jot down every city, viewpoint, or border crossing in order.
- Collect coordinates. Most tools accept plain addresses, but accurate lat/long pairs eliminate confusion when two towns share a name.
- Choose a visual style. Minimalist line on pastel? Retro atlas? Dark mode with neon? Picking early keeps your brand consistent.
- Match map aspect ratio to final video. Shooting vertical Reels? Draft a 9:16 map so nothing crucial gets cropped later.
- Gather media. Still photos, B-roll, stickers, and title cards will all layer over the map later.
A half-hour of planning here saves hours of back-tracking inside an editor.
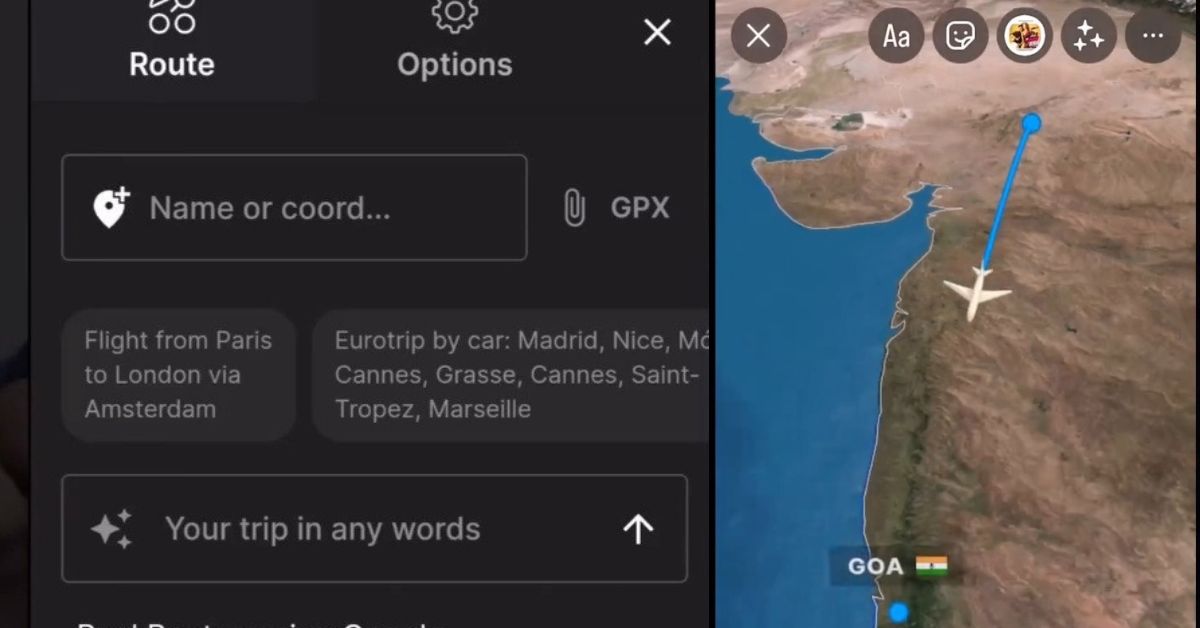
4. Hands-on walkthrough (using PictraMap as an example)
Step 1: Create a new project
Open PictraMap and select “Animated Route.” Pick a map theme—classic satellite, watercolor, or dark-mode streets.
Step 2: Add locations
Click each stop or paste coordinates. Rearrange in the sidebar until they match your itinerary exactly.
Step 3: Tweak the path
Toggle “Smooth curves” for road-trip vibes or “Straight lines” for airline hops. You can also set travel speed so the line races between far-flung stops and slows near clusters.
Step 4: Style your markers
Swap dull pins for camera icons, surfboards, or branded logo PNGs. Rule of thumb: one icon per stop; clutter kills clarity.
Step 5: Insert media pauses
At each waypoint you can pause the animation, fade up a photo, or cut to a video clip. This keeps viewers oriented when the footage resumes.
Step 6: Add text and titles
PictraMap lets you overlay dates and fun facts. Keep copy to under ten words so it’s readable on phones.
Step 7: Choose soundtrack
Royalty-free travel jingles abound in the built-in library. Or mute the map and add narration later in your main editor.
Step 8: Export
Select 1080p MP4 if you’ll edit further, or 4K if this is your cold open. Render time: about three minutes for a ten-stop route.
That’s it—you now have a polished clip ready for Instagram, Reels, or the start of your vlog.
5. Polish like a pro
- Color-match your line. Use your brand’s hex code so your audience recognizes your content instantly.
- Add motion blur. A subtle blur on the traveling line makes movement feel more organic.
- Sync to narration. If your voice-over says, “First stop, Jaipur,” freeze the map exactly on that pin; then resume when you move on.
- Use easing curves. Linear motion looks robotic. Tools like Filmora or After Effects let you ease-in and ease-out the path for natural acceleration.
- Layer B-roll under transparent map. Drop opacity to 70 % so the terrain is visible while video plays beneath—a simple but cinematic trick.
6. Export settings and sharing tips
| Platform | Resolution | Frame Rate | Length sweet spot |
|---|---|---|---|
| YouTube | 1920×1080 or 3840×2160 | 30 fps | 5–15 seconds |
| Instagram Reel | 1080 × 1920 | 30 fps | < 15 s (loop-friendly) |
| TikTok | 1080 × 1920 | 30 fps | 7–12 seconds |
Keep bit-rate at 12 Mbps for HD and 25 Mbps for 4K. Overkill will trigger compression artifacts once the platform re-encodes your upload.
7. Troubleshooting quick fixes
| Problem | Likely Cause | Fast Fix |
|---|---|---|
| Route jumps across oceans instead of following roads | “Straight line” mode accidentally enabled | Switch to “Road animation” or draw custom path |
| Text unreadable on small screens | Font too thin or map too detailed | Increase font weight, add background stroke, simplify basemap |
| Export looks blurry | Low-res template or upscaling in editor | Re-export at native resolution; avoid stretching in timeline |
| Render stalls at 95 % | Heavy media at stops or browser memory cap | Split project, render in halves, or try desktop tool |
8. Future-proof your skills
Interactive maps are on the rise: some platforms now let viewers tap a waypoint to jump to the matching scene. Services like SmartSHOW 3D and AI-powered editors in Filmora are already experimenting with click-through route chapters. Staying curious about these updates will keep your videos feeling fresh.
Conclusion
Creating a travel-map animation is no longer a black art reserved for motion-graphics wizards. With free web apps, mobile editors, and a pinch of planning, anyone can turn a list of stops into a compelling visual story. Choose a tool that fits your budget and skill level, plot your route carefully, add stylish markers and media, then export in the right format for your platform. Do it well, and your audience will follow every leg of your journey—quite literally—before they’ve even seen the first beach sunset or street-food bite. So open a map maker and start drawing lines; your next adventures are only a few animated frames away.